Why You’ll Love this Chocolate Cherry Cake Recipe
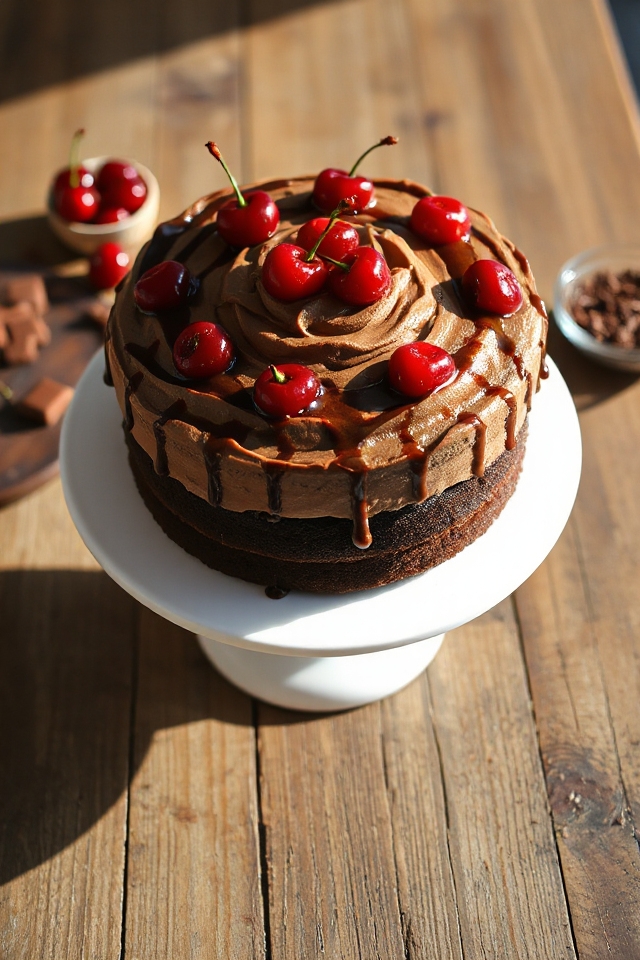
When you take your first bite of this Chocolate Cherry Cake, you’ll immediately understand why it’s become a favorite in my kitchen. The rich, velvety chocolate pairs perfectly with the sweet, tart cherries, creating a flavor explosion that dances on your palate.
Each slice is moist and decadent, making it the perfect dessert for any occasion. I love how it impresses guests while being simple to whip up.
Plus, the combination of chocolate and cherries is irresistible, reminding me of my childhood. Trust me, once you try it, you’ll be craving this cake again and again!
Ingredients of Chocolate Cherry Cake
When it comes to baking, having the right ingredients is everything, and this Chocolate Cherry Cake is no exception. As you gather your supplies, imagine the rich chocolatey aroma wafting through your kitchen and the sweet cherry notes dancing in the air. It’s enough to make anyone excited about baking!
So, let’s roll up our sleeves and get ready to whip up something delicious. Here’s what you’ll need to create this delightful cake that’s sure to impress.
Ingredients for Chocolate Cherry Cake:
- 1 tablespoon flour
- 1/2 tablespoon cocoa
- 2 cups flour
- 3/4 teaspoon salt
- 2 teaspoons baking powder
- 1 (4 ounce) bottle maraschino cherries
- 1/2 cup butter
- 1 1/2 cups sugar
- 2 eggs
- 4 ounces unsweetened chocolate (melted)
- 1 1/3 cups evaporated milk
- 1/4 cup Quik chocolate milk mix
- 1/4 cup confectioners’ sugar
- 1 teaspoon pure vanilla extract
- 2 cups heavy cream (for whipping)
Now, let’s chat about these ingredients for a moment. First off, don’t skimp on the quality of your chocolate. That unsweetened chocolate is the backbone of this recipe, so go for the good stuff.
And those maraschino cherries? Oh, they add such a delightful burst of flavor. Just remember to save some of that cherry juice because, trust me, it’s going to elevate your cake’s moisture and flavor profile.
If you’re feeling adventurous, you can even experiment with dark chocolate instead of unsweetened for a richer taste. Each ingredient plays an important role in making this cake not just a treat but a memorable experience, so let’s get ready to bake!
How to Make Chocolate Cherry Cake

Alright, let’s get this baking show on the road. First things first, preheat your oven to a cozy 350°F. This is the perfect temperature to coax out all those rich flavors from our ingredients.
While that’s warming up, grab your 1 tablespoon of flour and 1/2 tablespoon of cocoa. Combine these two in a small bowl—this is going to be your dusting mix for the cake pans. It’s like giving your cake a little chocolatey hug before it goes in the oven.
Grease two 9-inch cake pans, and dust them with your cocoa-flour mix. Set them aside, but don’t forget about them; they’ll be waiting patiently for their moment of glory.
Next, let’s tackle the dry ingredients. In a larger bowl, sift together 2 cups of flour, 3/4 teaspoon of salt, and 2 teaspoons of baking powder. It’s like a mini workout for your arms, and hey, who doesn’t want that?
Now, aside these dry ingredients for now. Time to get creamy! In another bowl, cream together 1/2 cup of butter and 1 1/2 cups of sugar until it’s fluffy and light. You want this mixture to be a bit like a cloud—light and airy.
Then, add in 2 eggs, 4 ounces of melted unsweetened chocolate, 1 1/3 cups of evaporated milk, and the all-important cherry juice from those maraschino cherries. Mix it all until smooth. It should smell absolutely divine, and if you happen to lick the spatula, I won’t tell anyone.
Now, it’s time to bring it all together! Gradually blend in your dry flour mixture, stirring until just combined. Gently fold in the chopped maraschino cherries—oh, those little beauties are going to add such a delightful pop of flavor.
Pour the batter evenly into your prepared cake pans, and pop them into the oven. Bake for about 25 to 30 minutes, but here’s a pro tip: check for doneness by inserting a toothpick in the center. If it comes out clean, you’re golden.
Once your cakes are done, let them cool for about 5 to 8 minutes in the pans before transferring them to wire racks. Patience is key here; let them cool completely before you do the fun part—layering and frosting with chocolate whipped cream!
You’ve got this, and soon you’ll be enjoying a slice of heaven.
Chocolate Cherry Cake Substitutions & Variations
After mastering the basic Chocolate Cherry Cake recipe, you might want to switch things up a bit.
For a twist, try substituting the maraschino cherries with fresh or frozen cherries for a more intense flavor. If you’re feeling adventurous, add a splash of almond extract to enhance the cherry essence.
You can also experiment with different chocolate types; dark chocolate adds richness, while white chocolate offers a sweet contrast.
For a gluten-free option, replace regular flour with a gluten-free blend.
Finally, feel free to layer in some nuts for crunch or top with a fruit glaze for added flair!
What to Serve with Chocolate Cherry Cake
Pairing the rich, decadent flavors of Chocolate Cherry Cake with the right accompaniments can elevate your dessert experience.
I love serving it with a scoop of vanilla ice cream; the creaminess balances the cake’s richness perfectly. A drizzle of warm chocolate sauce or cherry syrup enhances its indulgence.
Fresh whipped cream adds a light touch, while a sprinkle of chopped nuts can provide a delightful crunch.
For drinks, a cup of coffee or a fruity red wine complements the flavors beautifully.
You can’t go wrong with these pairings; they make every bite of Chocolate Cherry Cake even more enjoyable!
Additional Tips & Notes
When it comes to baking a Chocolate Cherry Cake, a few additional tips can make all the difference. First, make sure your butter is at room temperature for easier creaming.
I often recommend using high-quality chocolate, as it enhances the cake’s flavor. Don’t skip on chilling the whipped cream—this helps it hold its shape better when frosting.
If you want a richer taste, consider adding a splash of almond extract alongside the vanilla.
Finally, let the cake layers cool completely before frosting; this prevents melting. Trust me, these small tweaks elevate the cake to a whole new level!